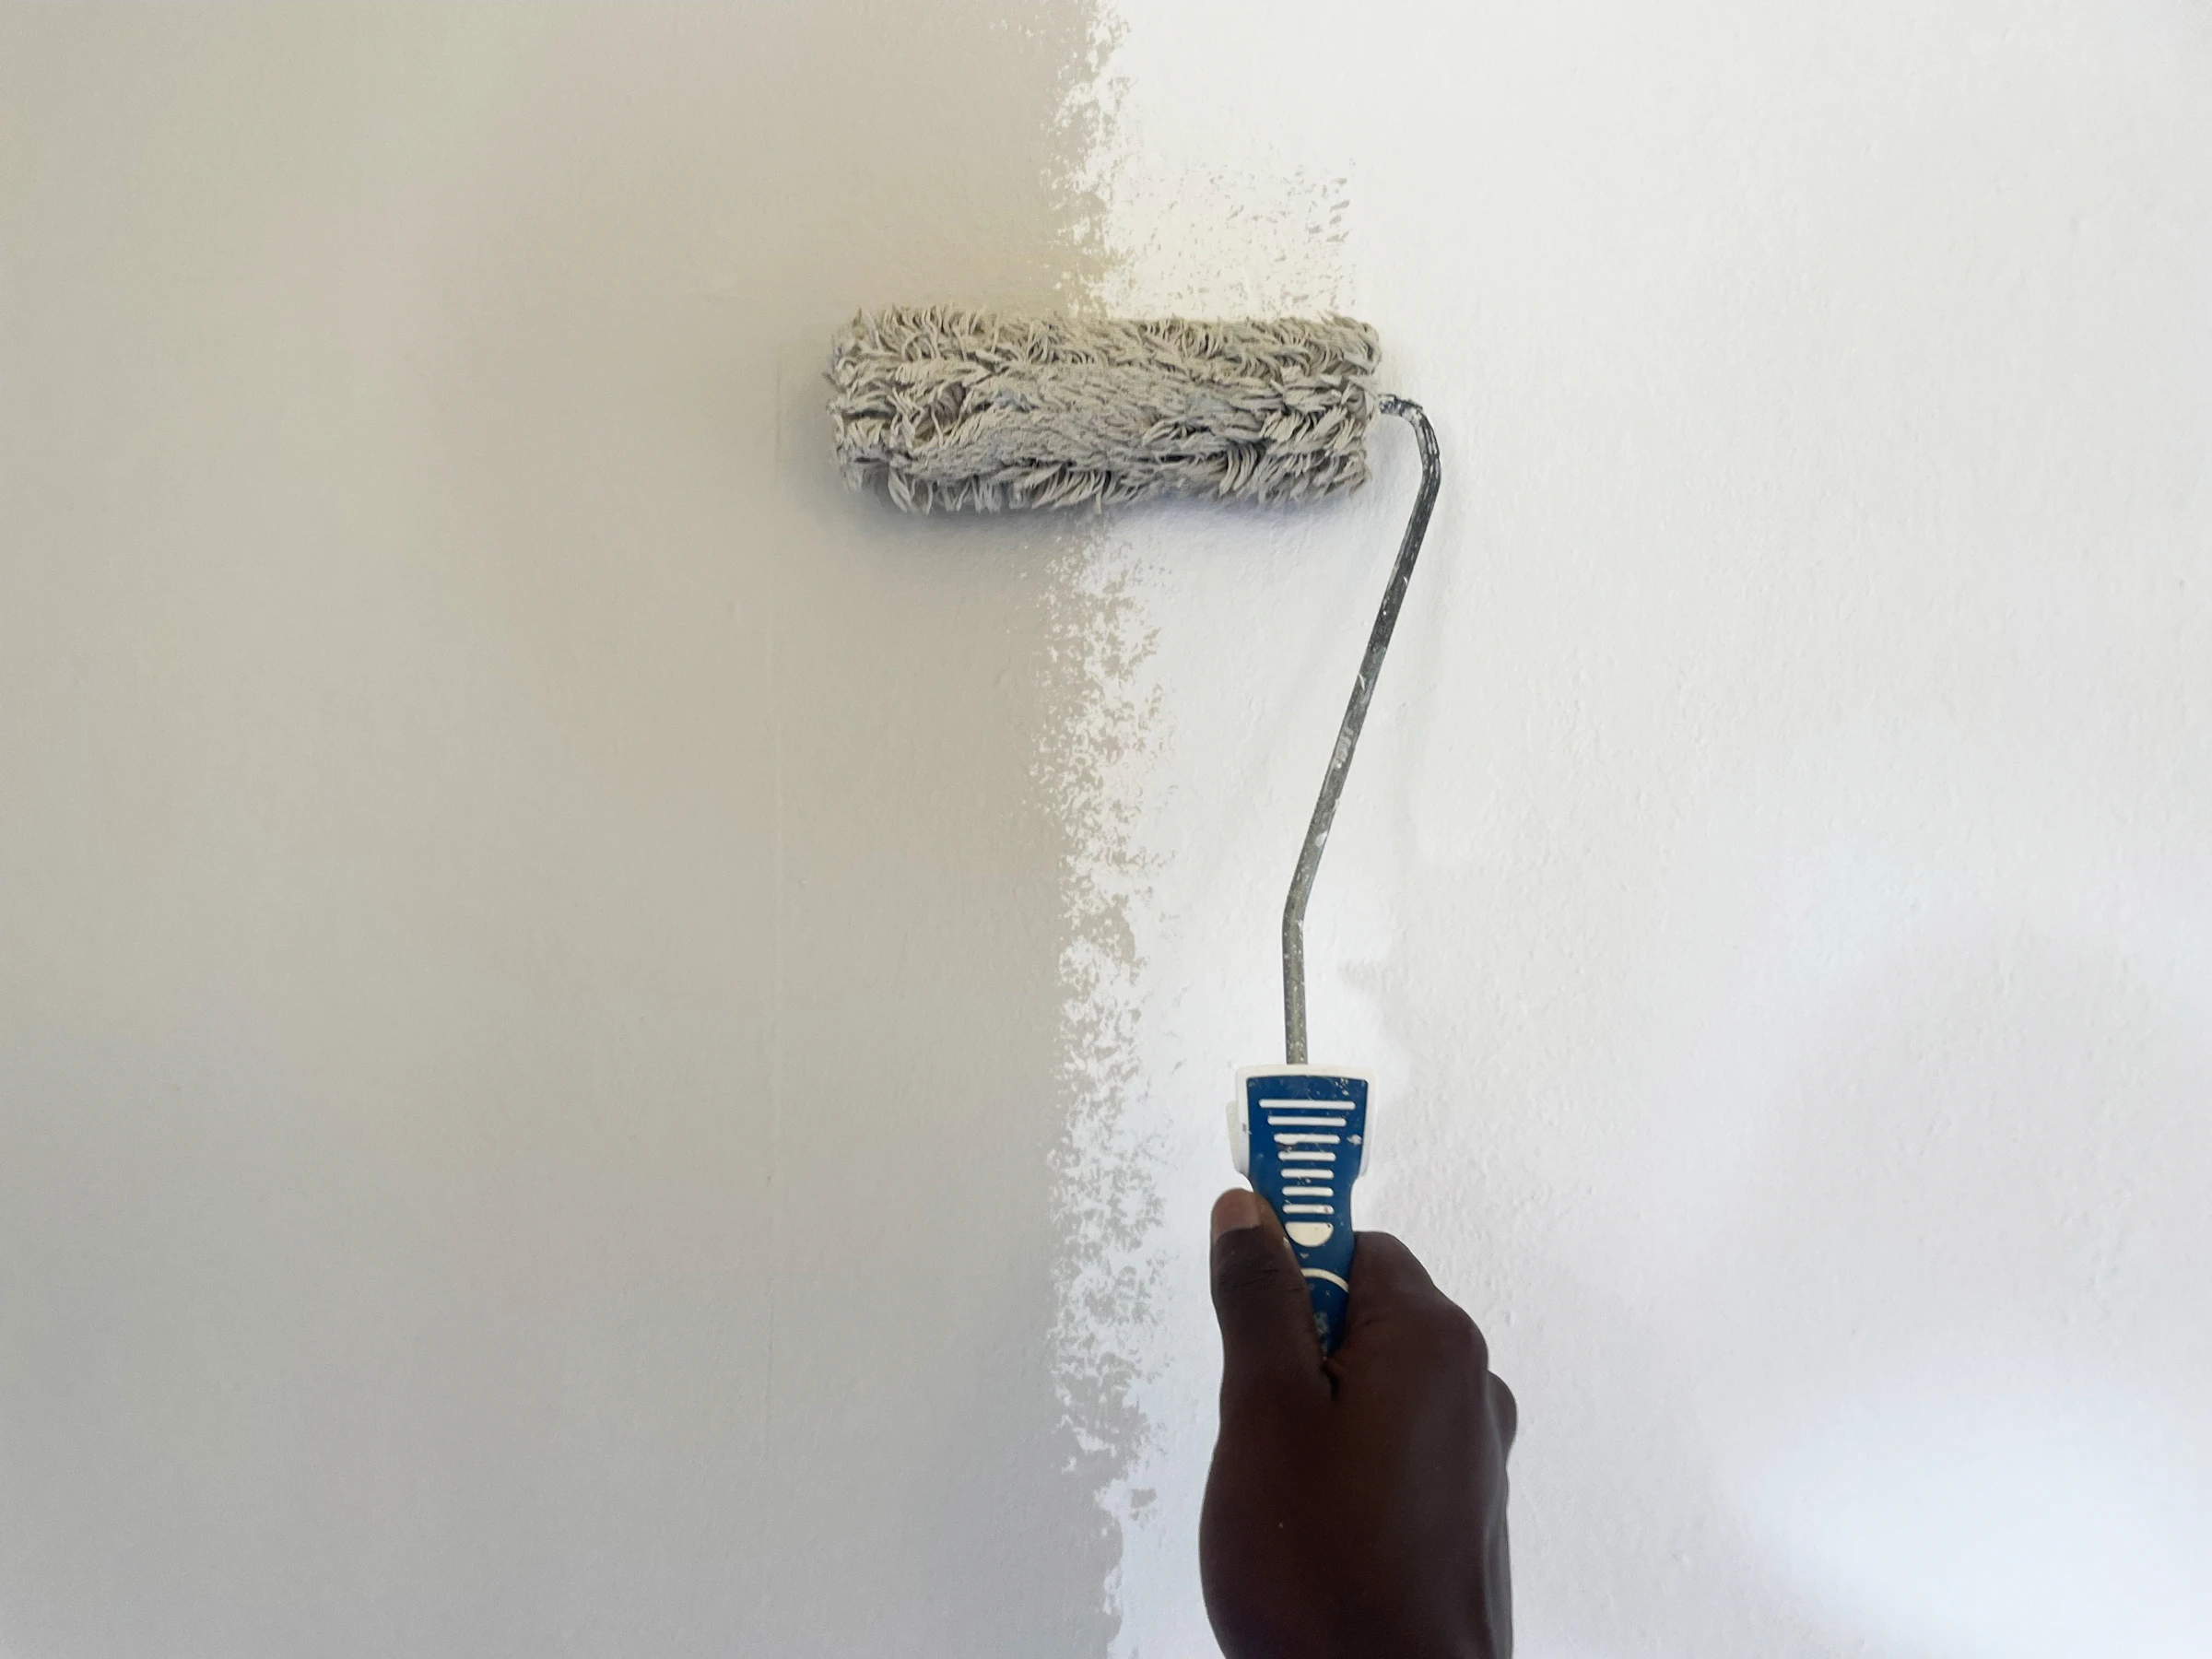
To remove plaster dust after decorating, vacuum first with a filtered vacuum, then wipe surfaces with a damp, well-wrung microfibre cloth, rinsing often and repeating until no white film is left. Fresh paint splashes usually come off with warm soapy water, while dried splashes need softening and careful scraping matched to the surface underneath.
The order and technique matter. Wiping plaster dust with a wet cloth turns it into a paste that smears, and scraping the wrong surface can leave permanent scratches. Our team cleans up after decorators and plasterers in homes across Hull and East Yorkshire, and these are the methods that work.
Key takeaways
- Always vacuum plaster dust before doing any wet cleaning.
- Use damp, not wet, cloths and change the water often; expect two or three passes.
- Identify the paint type: water-based emulsion lifts with soap and water, oil-based paint needs a suitable solvent.
- Test every method on a hidden area first, especially on carpets, uPVC and new worktops.
Why plaster dust is so hard to clean
Plaster dust is extremely fine. It hangs in the air for hours after sanding, settles as a film on every horizontal surface and keeps reappearing for days as it drifts down from ledges, light fittings and the tops of doors.
It also reacts badly to the wrong approach. Sweep it and it goes straight back into the air. Wipe it with a wet cloth and it smears into a chalky paste that dries to a white haze. Hoover large amounts with a bagless household vacuum and the fine particles can clog the filter and strain the motor.
That’s why a professional after builders clean follows a strict order: dry removal first, then damp wiping, then a final dry buff.
How to remove plaster dust step by step
- Let the dust settle. Leave it a few hours, ideally overnight, with a window open in the room.
- Protect yourself. Wear a dust mask rated for fine dust, and keep the room ventilated while you work.
- Vacuum from top to bottom. Start with coving, light fittings, the tops of doors and frames, then sills, radiators, skirting boards and finally floors. Use a vacuum with a fine-dust filter, and empty it or change the bag often.
- Damp-wipe with microfibre. Use a bucket of warm water and a cloth wrung out until it’s barely damp. Fold the cloth into quarters and turn to a clean side frequently.
- Change the water regularly. Once it looks milky, it’s spreading dust rather than removing it.
- Dry and buff. Follow with a dry microfibre cloth to remove the last of the haze.
- Repeat a day or two later. Fine dust keeps settling, so a second pass is almost always needed.
Tip: Don’t forget the hidden places: inside cupboards and drawers, light shades, radiator fins, extractor fan covers and the tops of kitchen wall units. These are where dust lingers and comes back from.
Removing plaster dust from floors, tiles and carpets
Hard floors
Vacuum thoroughly before you mop, then mop with warm water and a little pH-neutral floor cleaner, rinsing the mop frequently. It can take several passes before the white haze disappears. On wood and laminate, keep the mop barely damp and never push a gritty mop head around, as plaster grit scratches.
Tiles and grout
Plaster haze on tiles usually comes off with warm water and a microfibre cloth. Hard water marks can look similar, and much of East Yorkshire has hard water; our guide to removing limescale in hard water areas explains how to tell them apart. For grout haze on newly tiled walls, see our bathroom deep clean guide.
Carpets
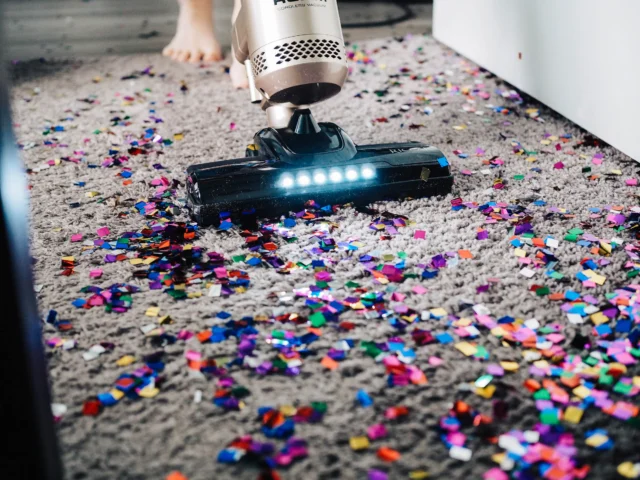
Vacuum slowly, in several directions, with the brush bar switched on. Plaster dust sinks deep into the pile and won’t come out in one go. Don’t wet the carpet while dust is still in it, or you’ll create a paste in the fibres. If the carpet still looks grey or white after repeated vacuuming, professional hot water extraction through our carpet and upholstery cleaning service will flush out what’s left.
How to remove paint splashes from different surfaces
First, work out what kind of paint you’re dealing with. Walls and ceilings are usually painted with water-based emulsion. Woodwork paints such as gloss, satin and eggshell can be water-based or oil-based, so check the tin if you still have it.
Fresh paint splashes
Deal with them while they’re wet. Wipe emulsion and other water-based paint with a damp cloth and a little washing-up liquid. On hard surfaces, wipe oil-based paint with a cloth dampened with white spirit, then wash the area with soapy water.
Dried paint on glass
Wet the glass with soapy water and use a glass scraper with a fresh blade held at a low angle, pushing in one direction only. Keep the glass wet throughout. Don’t scrape textured, decorative or coated glass; check with the manufacturer if you’re unsure.
Dried paint on uPVC windows and doors
Avoid metal scrapers and harsh solvents such as acetone or nail varnish remover, which can mark or soften the plastic. Soften the paint with warm soapy water, then ease it off with a plastic scraper or a fingernail. Test any specialist product on a hidden spot first.
Dried paint on carpets
For emulsion, soften the spot with warm water and a drop of washing-up liquid, leave it for a few minutes, then gently work the paint out of the fibres with a blunt knife or old toothbrush and blot. Repeat patiently. Oil-based paint on carpet is much harder, and solvents can damage the colour or backing, so it’s often best left to a professional. Our guide to removing common carpet stains covers blotting technique in more detail.
Wood floors, worktops and tiles
On sealed wood floors, soften dried paint with warm soapy water and lift it with a plastic scraper. Avoid abrasive pads, which dull the finish. On ceramic tiles, a plastic scraper and soapy water usually shift emulsion. Take extra care on natural stone and new quartz or laminate worktops, and don’t use solvents unless the manufacturer says they’re safe.
Mistakes to avoid when cleaning up after decorating
- Sweeping plaster dust with a brush.
- Using a wet cloth or mop before vacuuming.
- Running a household bagless vacuum on heavy plaster dust without emptying it and cleaning the filter regularly.
- Scraping paint off dry glass, or off uPVC with a metal blade.
- Using acetone, bleach or strong solvents without testing first.
- Tipping plaster-laden water down the sink, where it can settle and block pipes. Let it stand, pour the clear water away and bin the sediment.
- Putting curtains, rugs and furniture back before the second wave of dust has settled.
When to call in a professional cleaner
A small decorating job is very manageable yourself. Consider professional help if:
- A whole room or house has been replastered or sanded.
- Paint has dried on delicate surfaces such as natural stone, new worktops, carpets or coated glass.
- You don’t have the time or equipment for several rounds of dusting and wiping.
- You’ve redecorated a rented home before moving out. Splashes on carpets, sockets and sills can end up on the check-out report, and our end of tenancy cleaning covers that kind of detail.
If the work is still under way, our guide to protecting your home from dust during renovation will cut down the clean-up. For the full picture of what a professional clean covers, see our after builders cleaning service.
Cleaning up after decorators in Hull and East Yorkshire
Our team cleans up after plasterers, decorators and builders in homes and rentals across Hull, Pocklington, Driffield and the rest of East Yorkshire. Our cleaners are insured and vetted, bring their own vacuums, scrapers and products, and work to a fixed quote agreed before they start.
See what’s included in our after builders cleaning service, or get in touch with a few photos of the rooms and we’ll let you know what’s involved.